Transcoding
a part of a movie can be realised by transcoding a couple of cells of the Title
Set.
For this example I'll take the movie 'Wing Commander'. It has 5 vob files, and I
want to transcode just a part of the 5.th vob file.
First I take a look in VTS_02_5.VOB with VobEdit to see what Cell-ID's are used.
I have found at the beginning VobID: 2,CellId: 6, and at the end: VobId: 3,
CellId: 1.
Because it is not good to transcode between VOB-ID's, I search for the last cell
with VobId 2, and I found CellId: 10.
Okay,
so lets say we want to transcode CellId: 7,8,9 and 10.
I don't transcode CellId 6, because it's not beginning in VTS_02_5.VOB. It's
just continued here, and it began in VTS_02_4.VOB.
Below I will show you how to transcode cell 6 too, accross the two vob files
VTS_02_4.VOB and VTS_02_5.VOB.
The single steps that are riquired:
-
Demux the VOB file containing your cells you want to transcode, into its cell components.
-
Grab the cells you want to transcode, and join them to a single VOB file.

1.
Demuxing/Splitting the original VOB file into its Cell-IDs.
Open the VOB file VTS_02_5.VOB with VobEdit.
Press the
Button 'Demux', and the following dialog will apear:

Select the
second Option:

If you
would like to split a complete Title-Set into its VOB-IDs, then you could check
the last option.
If you don't check the last option, then only the current loaded VOB file will
be processed.
After
clicking okay, you will be prompted to specify a destination directory
(Don't change the filename please!):
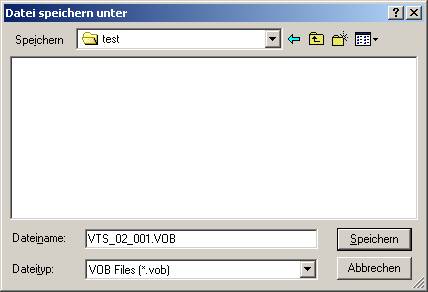
After
pressing 'Save', the demuxing/splitting begins:

After this
is finished, your destination directory will look like this:

As you can
see, the filenames itself don't tell much about its content. That's why there's
also a log file.
Open it
with Notepad or any other editor to see, what we have in which file.

We
said, we want to transcode cell 7,8,9 and 10.
So move the files VTS_02_002.VOB - VTS_02_005.VOB to a new empty
directory. (You will soon understand why)

Now open VTS_02_002.VOB with VobEdit and choose the Menu-item: 'Edit -> Join CellVob files':

VobEdit will ask you for a destination directory. You can use the same, so just click 'save':

VobEdit is now joining just these 4 vob files together to a new VOB file, that can be better transcoded:

When the joining is finished, we've got one VOB file named
VTS_02_1.VOB, containing our Cells.
Now you simply need to open this VOB file in ReMPEG2, and start the transcoding
process.
2. Transcoding a single demuxed Cell-ID with ReMPEG2.
Now you
can catch the VOB file containing our Cells, you want to transcode.
So lets open VTS_02_1.VOB with
ReMPEG2:

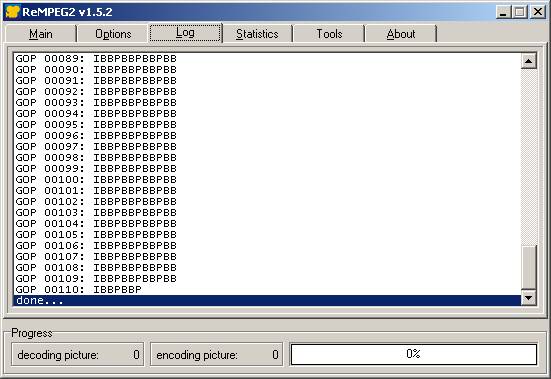
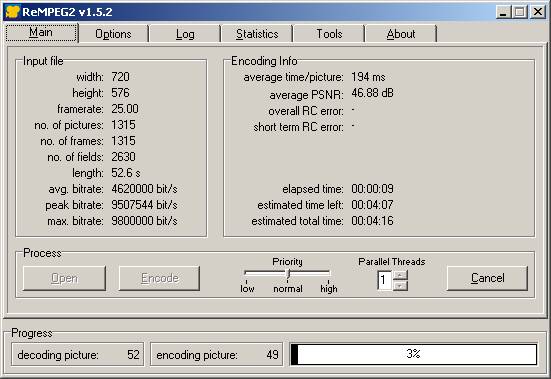
These are
the options, I'm using in ReMPEG2:
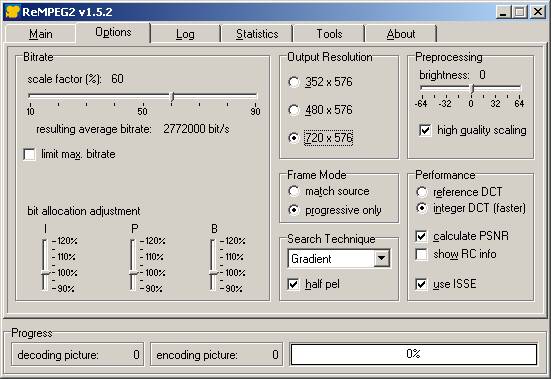
Hit the
encode button, and specify a filename for the transcoded m2v file.
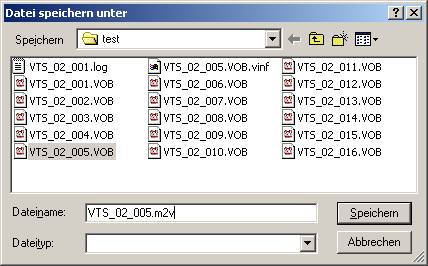
Now we are
ready to remux the transcoded m2v file back into VTS_02_1.VOB.
3. Remuxing a m2v file back into the demuxed Cell-ID/VOB file.
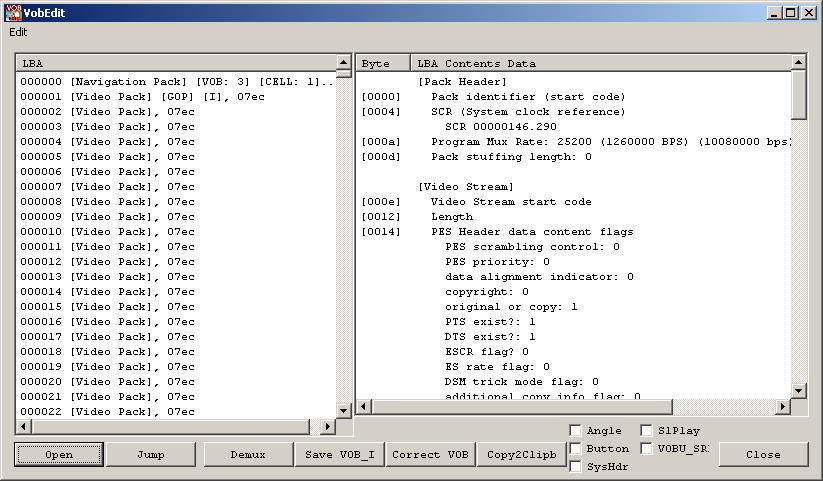
Open
VTS_02_1.VOB with VobEdit:
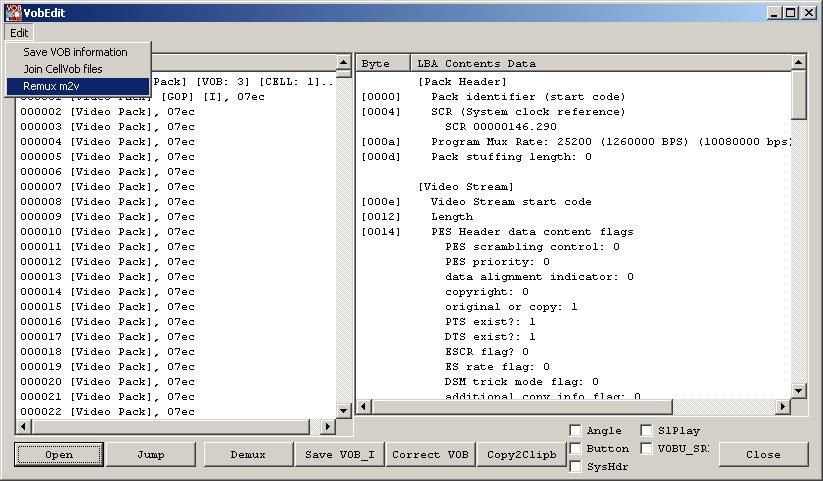
Select the
Menu-Item 'Remux m2v':
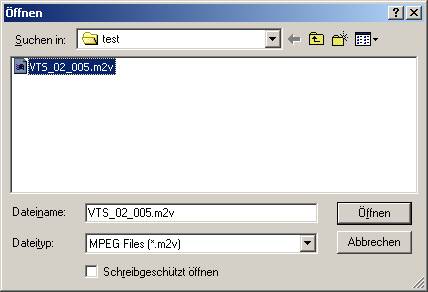
Choose the
transcoded m2v file, in the filedialog:
A second
filedialog apears, where you must select a destination directory, for the
remuxed VOB file
Please
select a different directory and don't change the filename!:

Now we've
got a transcoded VOB file:

Now we
need to get this back into our Title-Set.
First we must again demux this VOB file into it's Cell components.
You simply have to repeat the steps of the top of this guide.
So open this transcoded VTS_02_1.VOB file with IfoEdit, and press 'Demux'.
Select again to demux the Cell's, and then specifiy a new empty directory, BUT:
this is the first time you are going to change the filename.
Change the filename to VTS_02_002.VOB, cause later we need to exchange the old
demuxed cell-vobs with this new transcoded cell-vobs.

After demuxing, you have a new folder containing these files:

Now simply move this transcoded cell-vob files to your first destination folder, that should look like this:


Great. now just lets join these cell-vob files back to our VTS_02_5.VOB file, and we're finished.
4.
Joining the demuxed Cells back to a VOB file or Title-Set.
Open
the first VOB file in this directory with VobEdit.
We will
open VTS_02_001.VOB:

Select the
Menu-Option 'Join CellVob files' to join all files back to a regular VOB file(s):
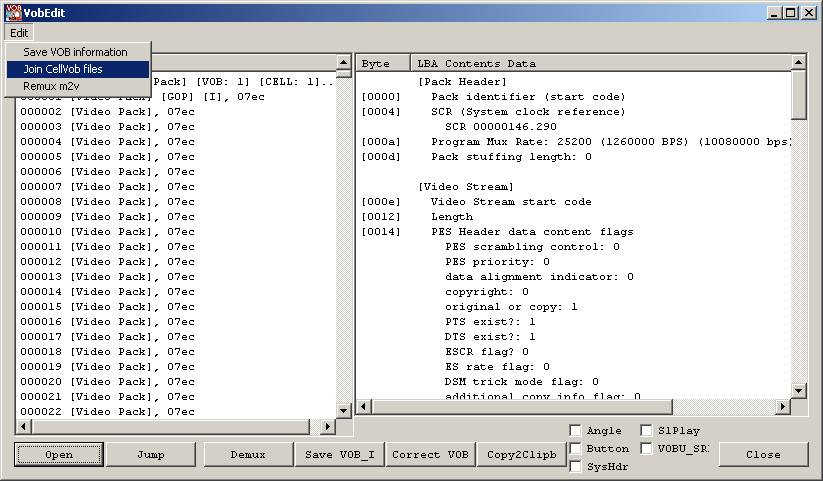
Again we
have to specify a destination directory:
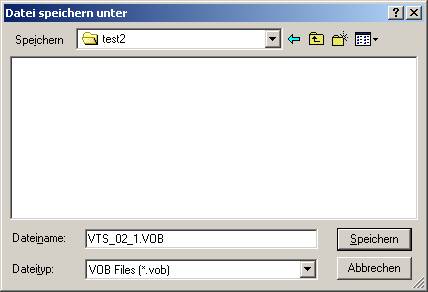
The
joining Process begins:

After that,
we've got a regular VOB file back:
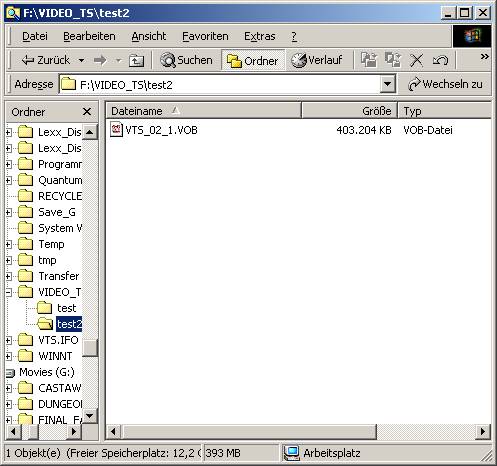
That's it.
Now simply rename it to VTS_02_5.VOB, and exchange it with the original.
Don't
forget, the VOB file has got changed, so some navigation pointers in the VOB
file aren't correct anymore, and some pointers in the original IFO file doesn't
point correctly too.
So if you
want to burn this to DVD-R, you must first process the IFO and this VOB file
with IfoEdit to correct the ifo-tables, and the vob-unit navigation pointers in
the VOB file itself.